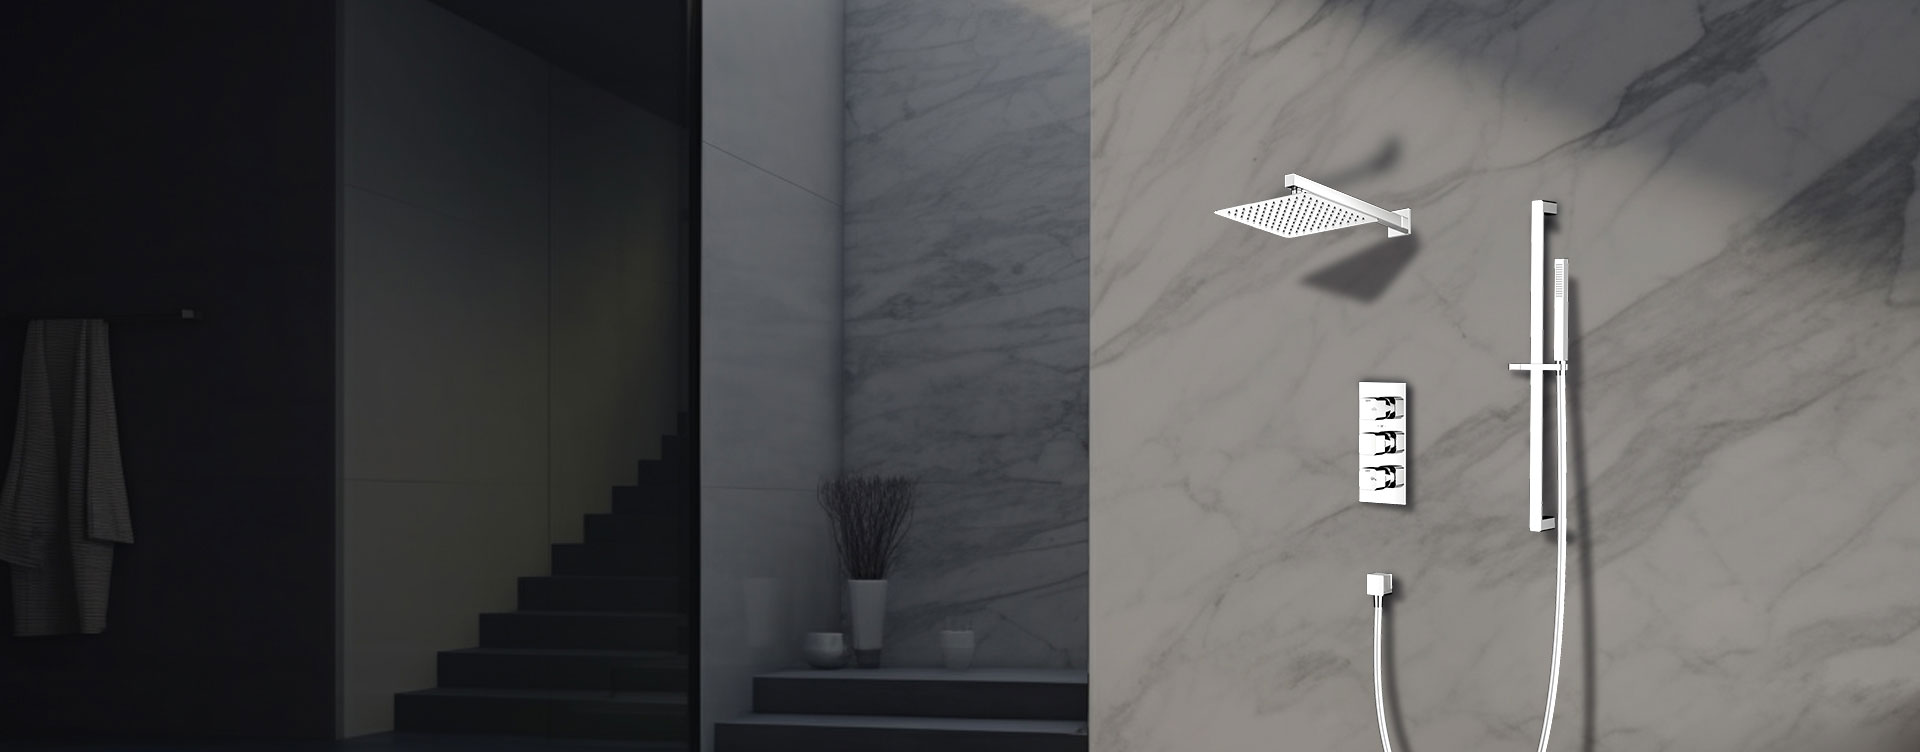
A shower handle controls water flow and temperature, making it essential for comfort and safety. Installing it correctly ensures smooth operation, prevents leaks, and maintains consistent performance. High-quality systems—such as those engineered by Moon Shower—are designed so that the handle, valve cartridge, and trim align precisely for long-term reliability and a refined user experience.
Screwdriver
Allen (hex) key
Adjustable wrench
Trim plate and screws
Replacement handle
Valve cartridge (if upgrading or replacing)
Plumber’s tape
Silicone sealant (if required)
Having these tools ready helps ensure a clean and efficient installation.
Although some trim-only replacements can be done with the water on, it is safest to shut off the water supply to avoid accidental leaks.
Turn off the main valve or the dedicated bathroom supply line.
For most shower handles:
Pry off the decorative cap
Remove the screw inside
Pull the handle straight toward you
If the handle is stuck, gently wiggle it or use a handle puller to avoid damaging the valve stem.
With the handle removed, examine the internal components.
Mineral buildup
Corrosion
Worn or cracked cartridge
Loose or misaligned valve stem
A worn cartridge can cause leaks or poor temperature control and should be replaced before installing the new handle.
The trim plate (escutcheon) covers the valve opening in the wall.
Align the plate over the valve
Secure it with screws
Apply silicone around edges if required for waterproofing
Ensure it sits flush against the wall.
Slide the new handle onto the valve stem.
Line up the spline or flat stem connection
Insert and tighten the screw
Snap on the decorative cap
Do not overtighten, as excessive force can damage internal parts.
Shower systems made by Moon Shower are designed with precise handle mechanisms for smooth, consistent rotation and comfortable control.
Restore water flow and test the handle.
Smooth turning motion
Proper hot and cold orientation
No leaks behind the trim
Accurate temperature control
If something feels stiff or misaligned, remove the handle and adjust the cartridge position.
Many modern showers use a single-handle valve for both flow and temperature.
Ensure the cartridge is fully seated
Confirm rotation limits (anti-scald) are properly adjusted
Align handle with correct off/on positions
This ensures safe and comfortable use.
Older systems may use separate handles for hot, cold, and the diverter.
Match handles to correct valve stems
Ensure washers are replaced if needed
Tighten handles carefully to avoid stripping
This configuration requires more attention to alignment.
Cause: screw not fully tightened or worn stem
Solution: tighten securely or replace the stem.
Cause: damaged cartridge or worn O-rings
Solution: replace the cartridge.
Cause: mineral buildup
Solution: clean or replace the cartridge.
Cause: cartridge installed backward
Solution: remove and rotate 180 degrees.
Prevents buildup that affects movement.
Look for minor leaks or loosened screws.
Preserves the finish and extends handle life.
Ensures smooth operation and precise temperature control.
Moon Shower focuses on engineering shower handles and valve systems that are:
Easy to install and maintain
Built with corrosion-resistant materials
Designed for smooth, long-lasting rotation
Precisely calibrated for temperature stability
Compatible with modern bathroom designs
Their thoughtful engineering allows installers and homeowners to achieve a reliable, comfortable, and stylish shower system with minimal effort.
Previous: How To Install Shower Valve