Installing a shower head is one of the simplest ways to upgrade your shower experience. Whether you want better water pressure, improved spray patterns, or a more modern look, the installation process is typically straightforward. A well-installed shower head ensures consistent water flow, prevents leaks, and supports long-term durability. High-quality fixtures—such as those engineered by Moon Shower—also enhance performance, comfort, and efficiency once installed correctly.
Adjustable wrench or pliers
Plumber’s tape
Soft cloth or towel
New shower head
Optional: rubber strap wrench for delicate finishes
Preparing these items ensures a smooth and damage-free installation.
Twist the old shower head counterclockwise by hand.
If it is stuck:
Wrap a cloth around the connection
Use a wrench or strap wrench
Apply steady, gentle pressure
Avoid scratching the finish by protecting the arm with a towel.
Once the old head is removed, inspect the shower arm.
Old plumber’s tape
Mineral residue
Rust or debris
This prepares the threads for a watertight seal.
Wrap plumber’s tape clockwise around the shower arm threads.
Prevents leaks
Creates a tight seal
Helps the new shower head thread smoothly
Two to three wraps are usually sufficient.
Thread the new shower head onto the shower arm by hand.
Turn clockwise until snug
Use a wrench only if necessary
Avoid overtightening
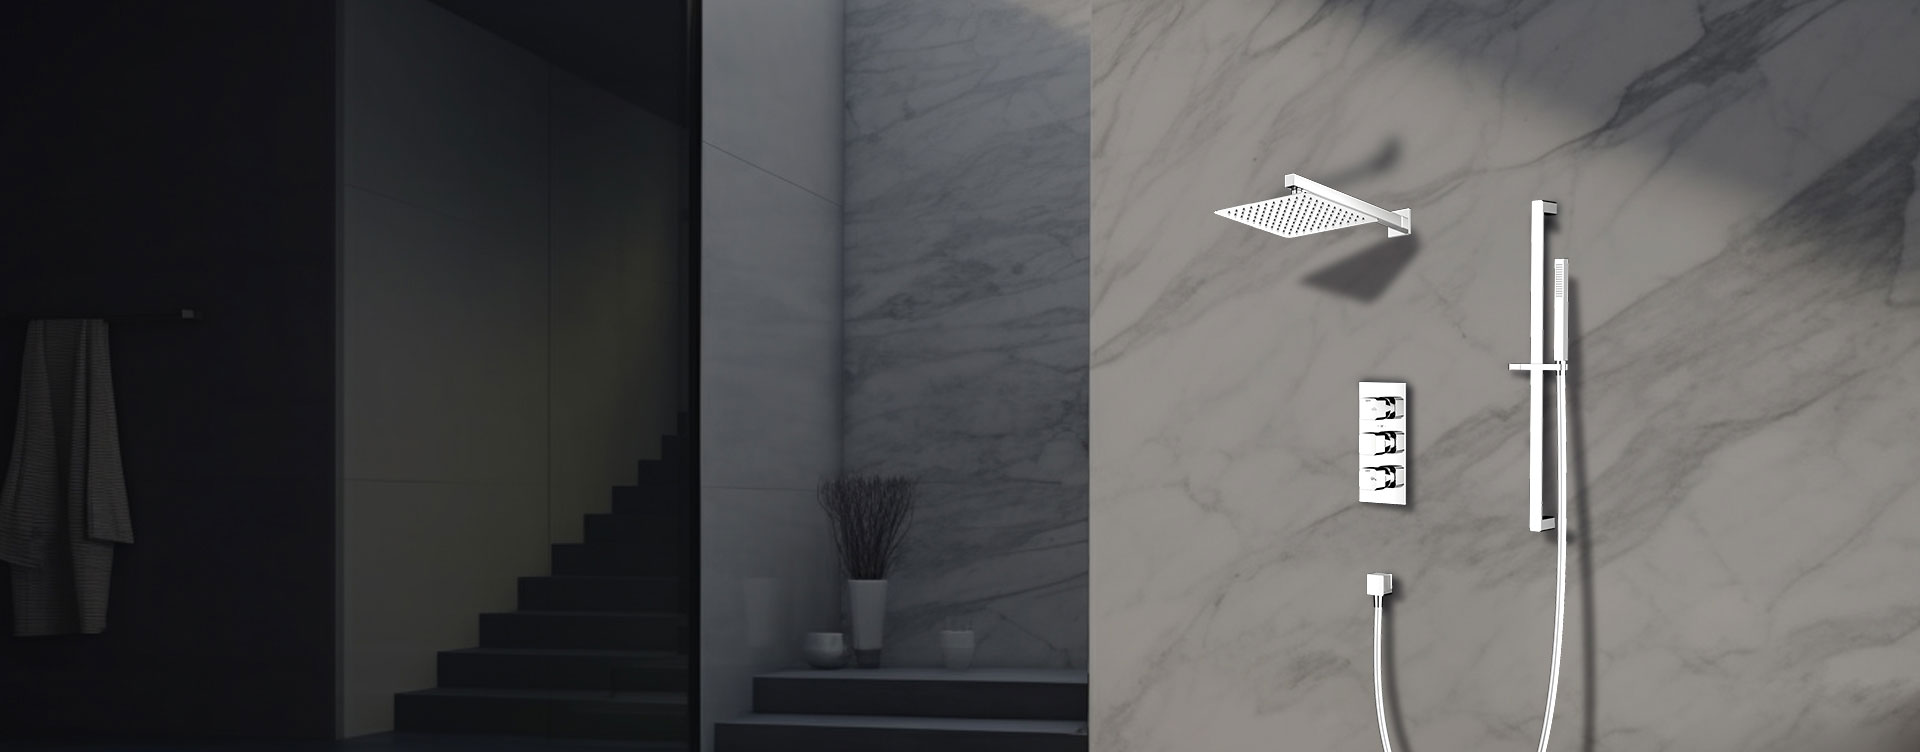
A well-designed shower head, such as those from Moon Shower, typically installs smoothly due to precision-machined threads and high-quality materials.
Turn on the water and check for:
Leaks around the connection
Proper spray pattern
Smooth water pressure
If you see a small drip, tighten the shower head gently or add an extra layer of plumber’s tape.
If your shower head includes a handheld sprayer:
Connect the bracket to the shower arm
Attach the hose to the bracket outlet
Install washers on both hose ends
Tighten connections by hand
This upgrade offers added flexibility for bathing, cleaning, and accessibility needs.
This can damage internal threads or crack the fixture.
Causes difficulty threading the shower head and can lead to leaks.
Failing to clean the threads lowers connection quality.
Missing washers cause leaks at hose joints.
Modern designs reduce water usage while maintaining strong performance.
Better spray patterns and pressure options increase relaxation.
New spray plates and nozzles reduce clogging and buildup.
A new fixture refreshes the entire look of the shower area.
Modern fixtures, such as those from Moon Shower, use corrosion-resistant materials to ensure lasting performance.
Moon Shower focuses on creating fixtures that simplify installation and deliver long-term functionality.
Smooth, precision-engineered threads
Durable construction resistant to corrosion and mineral deposits
Silicone spray nozzles for easy maintenance
Stable water-pressure design for consistent performance
User-friendly assembly for both homeowners and professionals
These features ensure that installing or upgrading a shower head is fast, clean, and reliable.
Prevents mineral accumulation and supports steady water flow.
Addressing small drips early prevents larger issues.
Protects the shower head finish and internal components.
Very high pressure may strain both the shower arm and the head.
Previous: How To Install Shower Drain
Next: How To Install A Shower